Replacing the fork seals
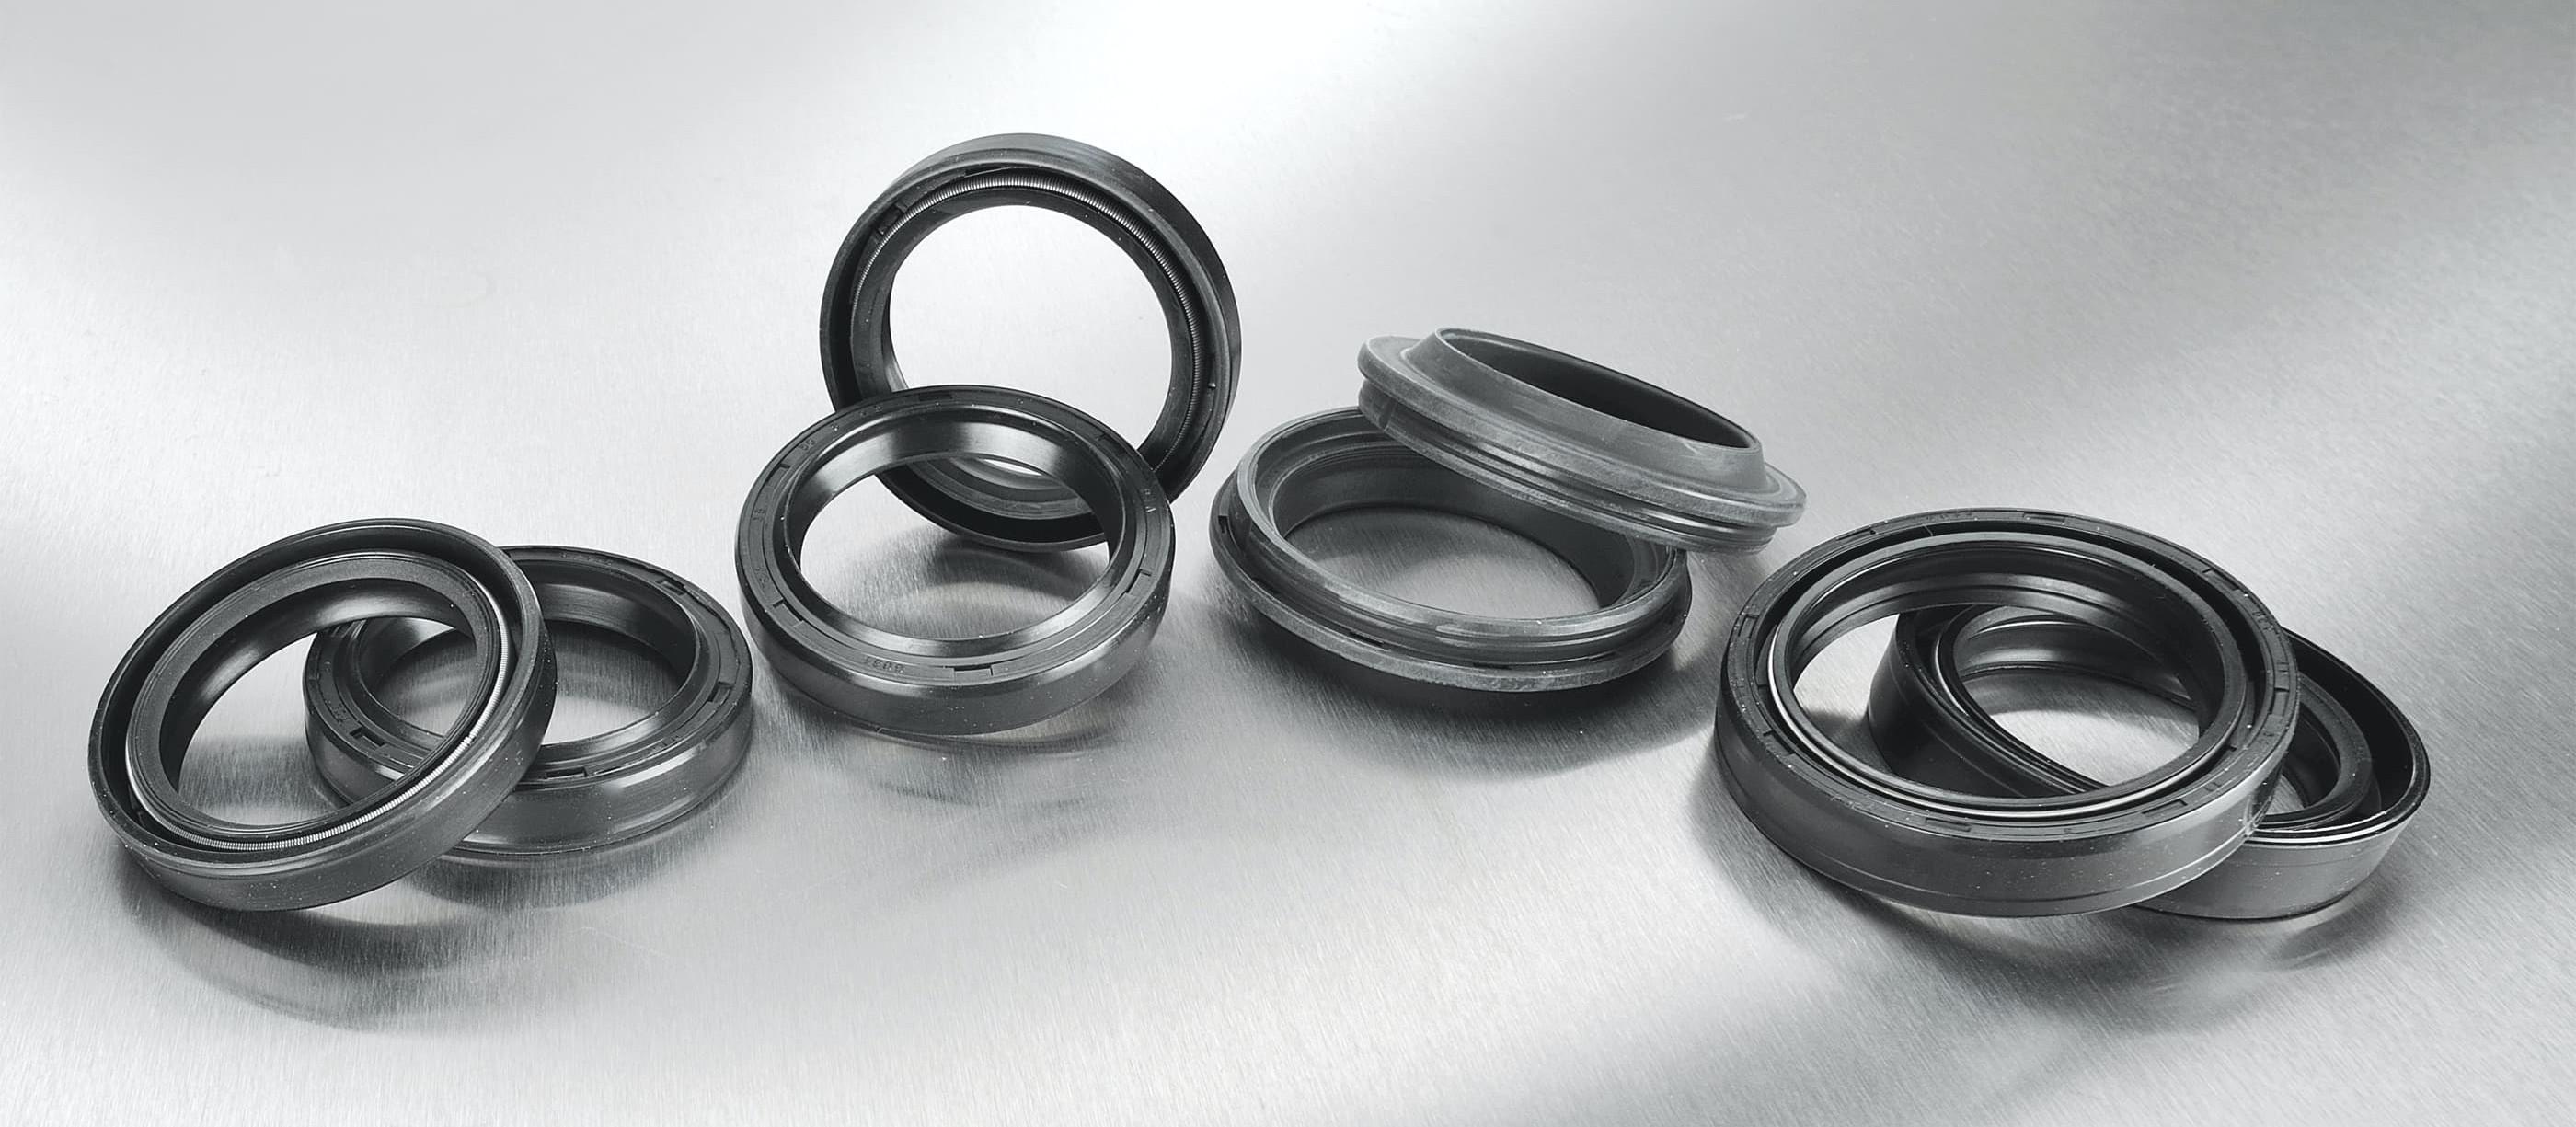
If you wash and polish your motorcycle only to find that the fork tubes are oily and dirty again after a few kilometres, then the problem is worn fork seals (often referred to as radial shaft seals).
- Changing the fork seals on the motorcycle
- Replacing the fork seals – now let's get started
- 01 – Unfasten the sealing plug
- 02 – Pull out fork tube
- 03 – Remove upper fork lock screw, drain fork oil
- 04 – Remove lower fork lock screw
- 05 – Remove circlip
- 06 – Remove defective seal
- 07 – Installation with fork seal driver
- 08 – Top up fork oil
Changing the fork seals on the motorcycle
They may only be two rubber rings, but they are so important! Imagine you've just spent all afternoon washing and buffing up your pride and joy only to find that, after a couple of miles, the fork tubes are all oily and dirty again. If this happens to you, it's down to worn fork seals. In such a case, a grubby fork tube is the least of your worries. Ineffective damping can seriously affect road holding, but worst of all, leaking oil may flow onto the brakes and cause them to fail. If you are replacing the fork seals, you should always replace them on both side.
Replacing the fork seals – now let's get started
Step 1: Unfasten the sealing plug
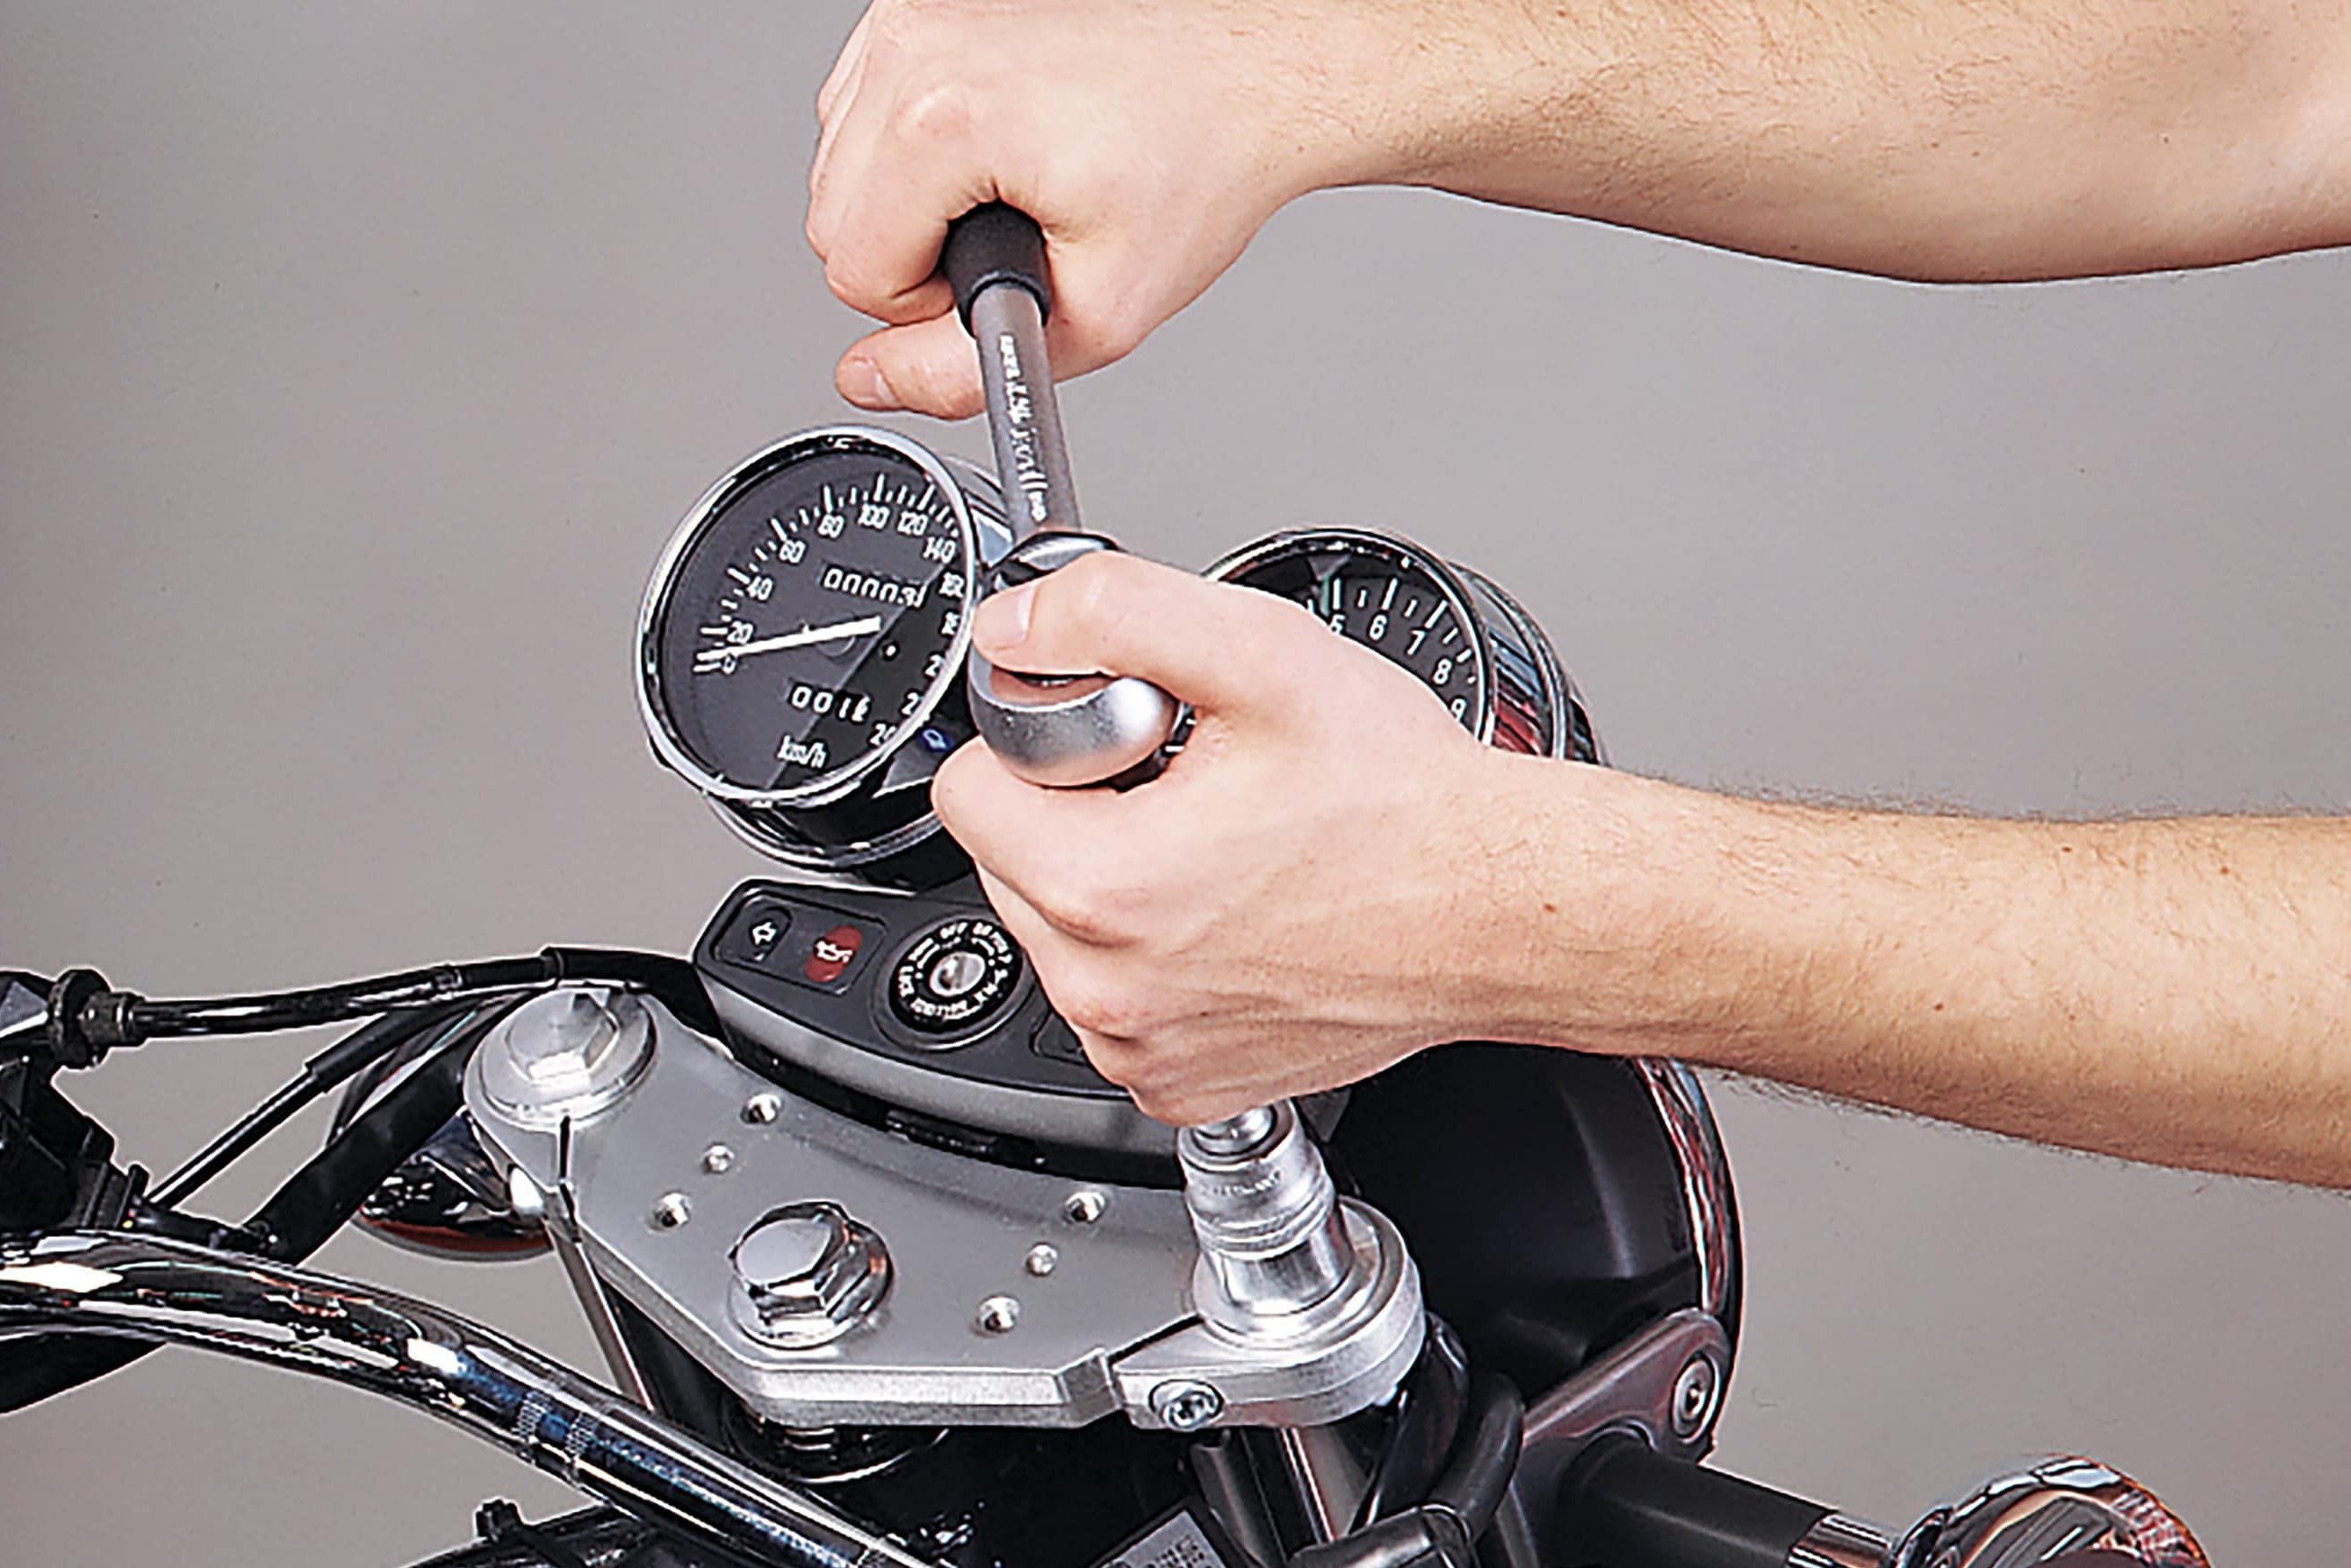
01 – Unfasten the sealing plug
Before jacking up the front end of your motorcycle securely, loosen the sealing plugs on the fork tubes. This means unfastening the clamps for the upper triple tree.
Step 2: Pull out fork tube
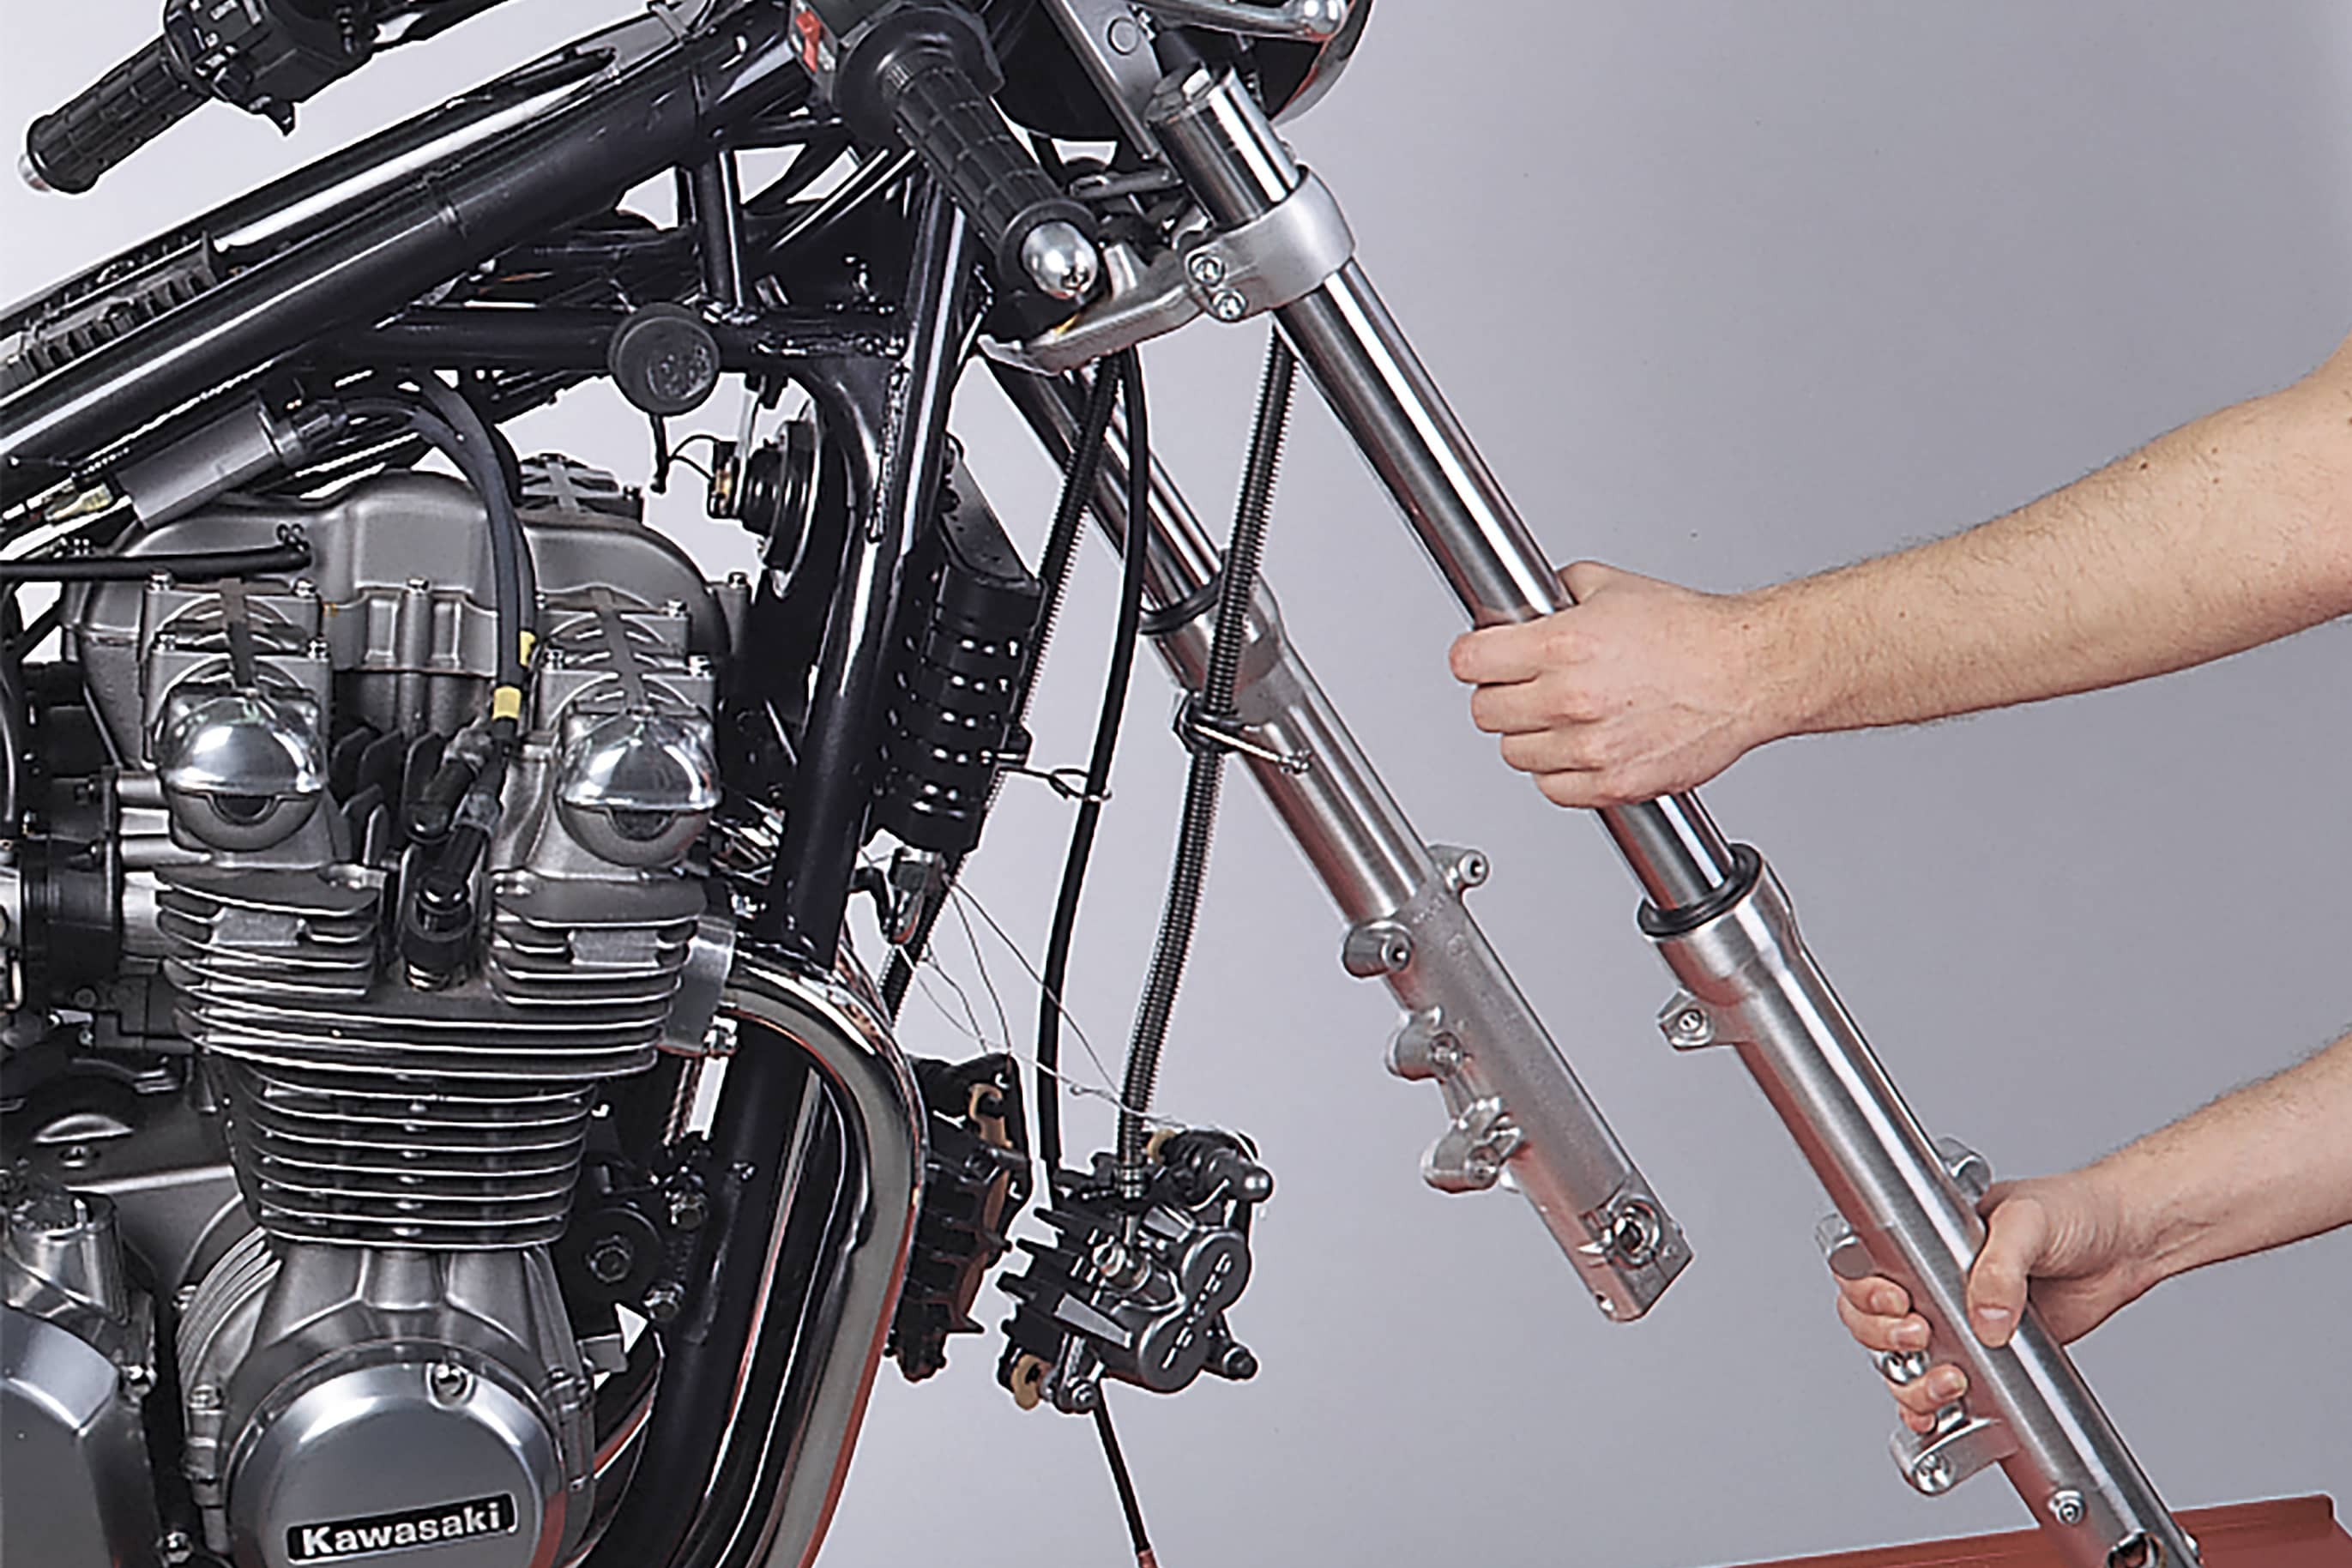
02 – Pull out fork tube
Once your motorcycle has been safely jacked up, remove the mudguard, wheels and brake calipers. It's sufficient to just tie the calipers on one side with insulated wire/cable, as you do not need to open the hydraulic system. From this point, you must no longer operate the brake lever. Once the clamps on the lower triple tree have been unfastened, pull the fork tubes down and out with gentle twisting motions.
Step 3: Remove upper fork lock screw, drain fork oil
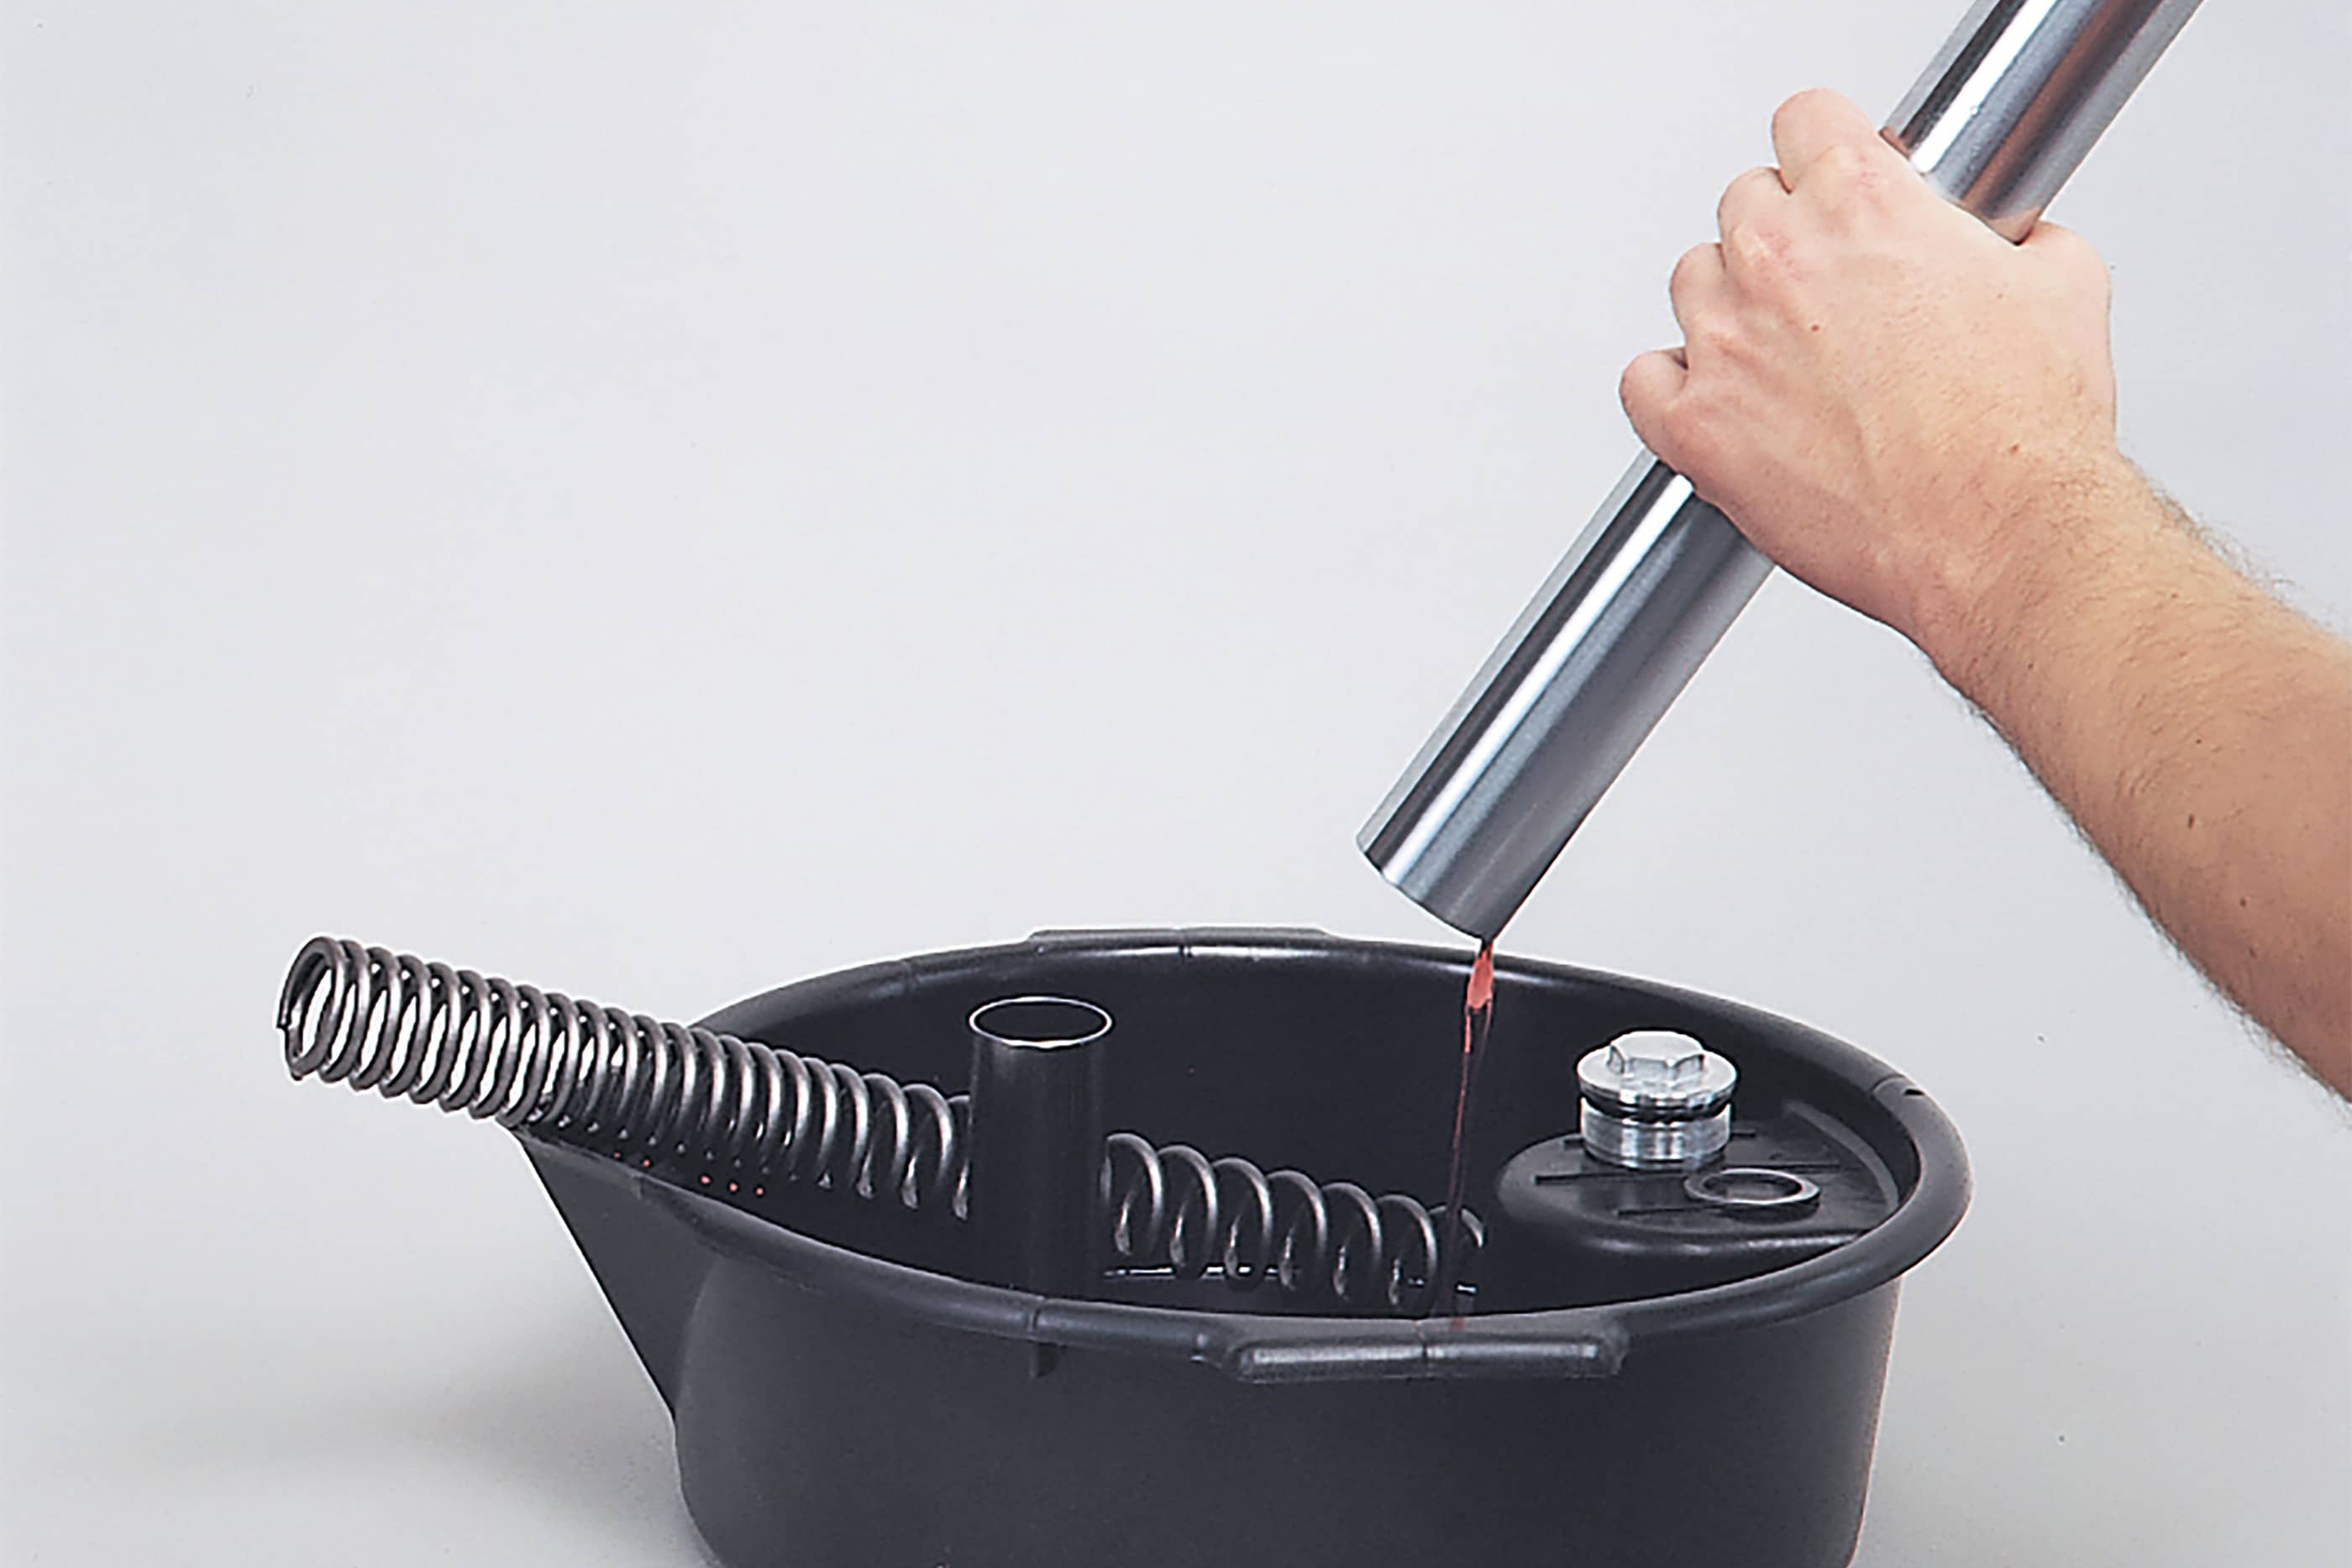
03 – Remove upper fork lock screw, drain fork oil
To remove the sealing plugs, use a ratchet and suitable socket, while pressing gently down, as the plugs are still under slight pressure even when the fork springs are in a relaxed state.
You can now remove the spacer tubes, if fitted, the spring collars and fork springs. Be sure to make a note of the position of each component and the order in which you remove them. It's also advisable to work on only one fork assembly at a time so you don't mix up the parts.
Drain the oil into a suitable drip pan. Remove the drain plug if your bike has one. You'll find that pushing the fork tube in and out a few times will drain the fork oil a bit quicker.
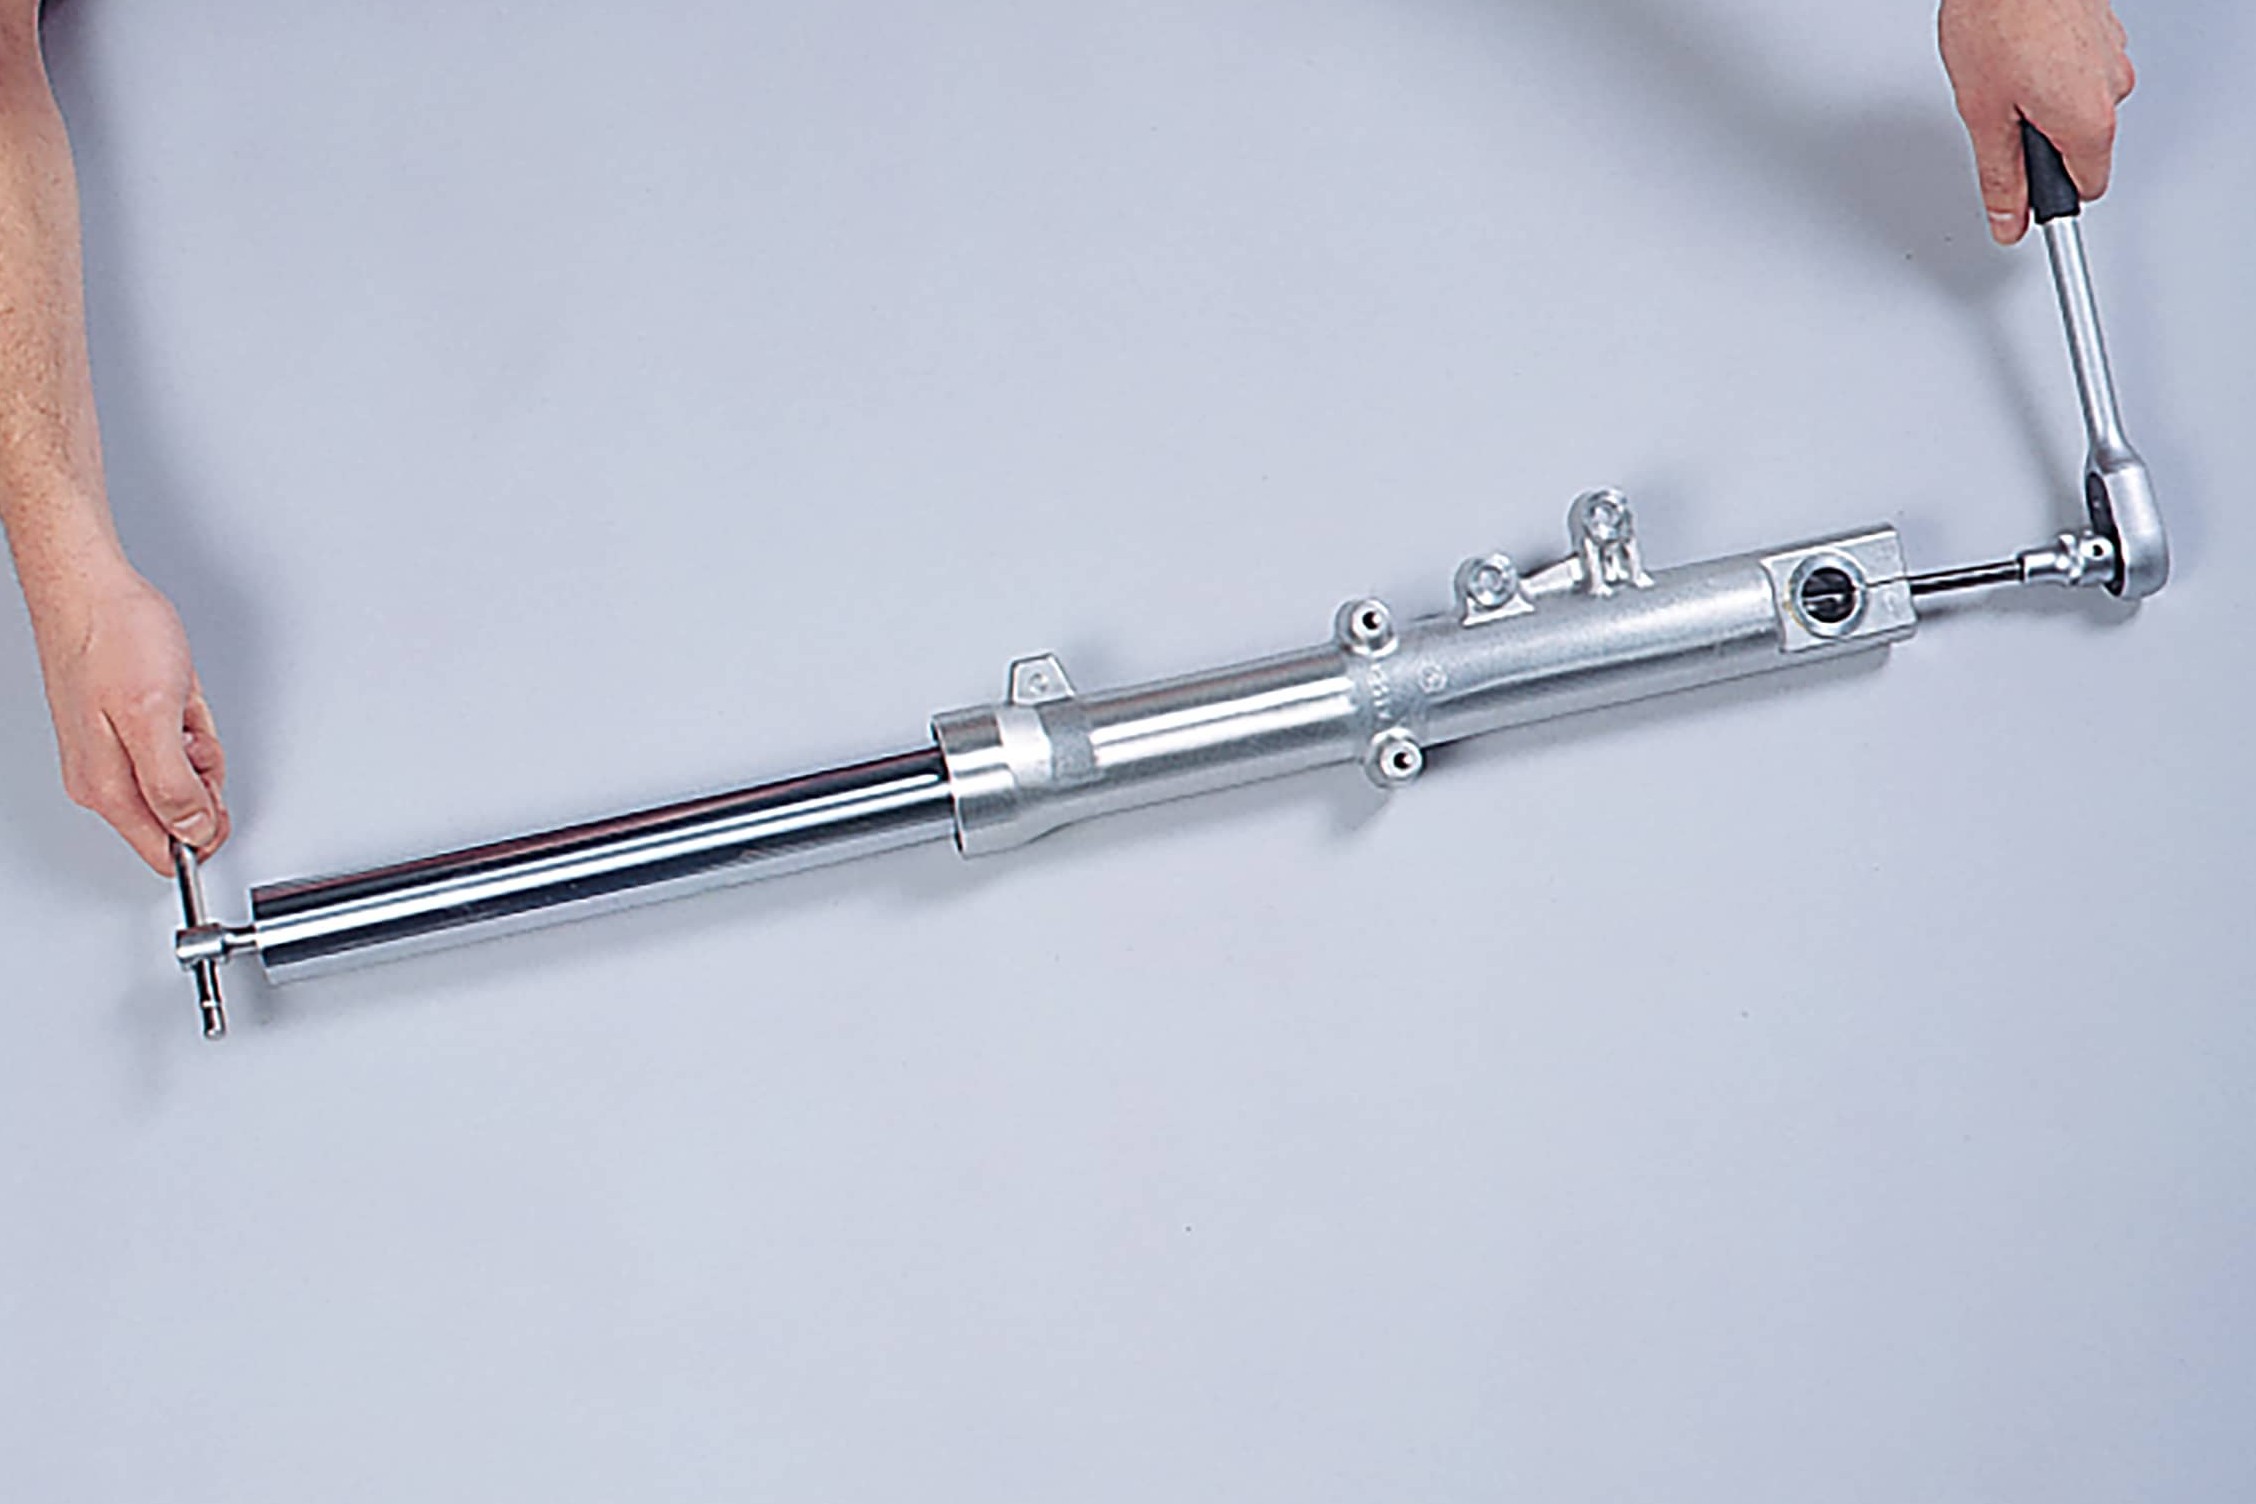
Step 4: Remove lower fork lock screw
04 – Remove lower fork lock screw
Your next task, which can be a little tricky, is to remove the hexagon socket screw which holds the slider and the damping rod together from underneath. To prevent the damper rod from turning together with the screw, you need to insert a suitably sized socket and two extension bars down inside the fork tube to grip the rod. If you don't have the right tools, it might help to pre-assemble the fork. With a bit of luck, the tensioned fork spring will prevent the damping rod from spinning.
Underneath the hexagon socket screw, you'll find a sealing washer that must always be replaced with a new one. It is imperative that you treat the chromed fork tubes with the same caution as a basket of raw eggs! Even the tiniest of nicks in the area of the seal is enough to ruin the fork tube, as the seal would be leaking again after just a couple of miles back on the road. If you clamp the fork in a vice, only clamp it on the slider, e.g. on the support brackets of the brake calipers. If all else fails, you're sure to find a garage that will remove the screws with an air impact wrench for a small charge.
Step 5: Remove circlip
05 – Remove circlip
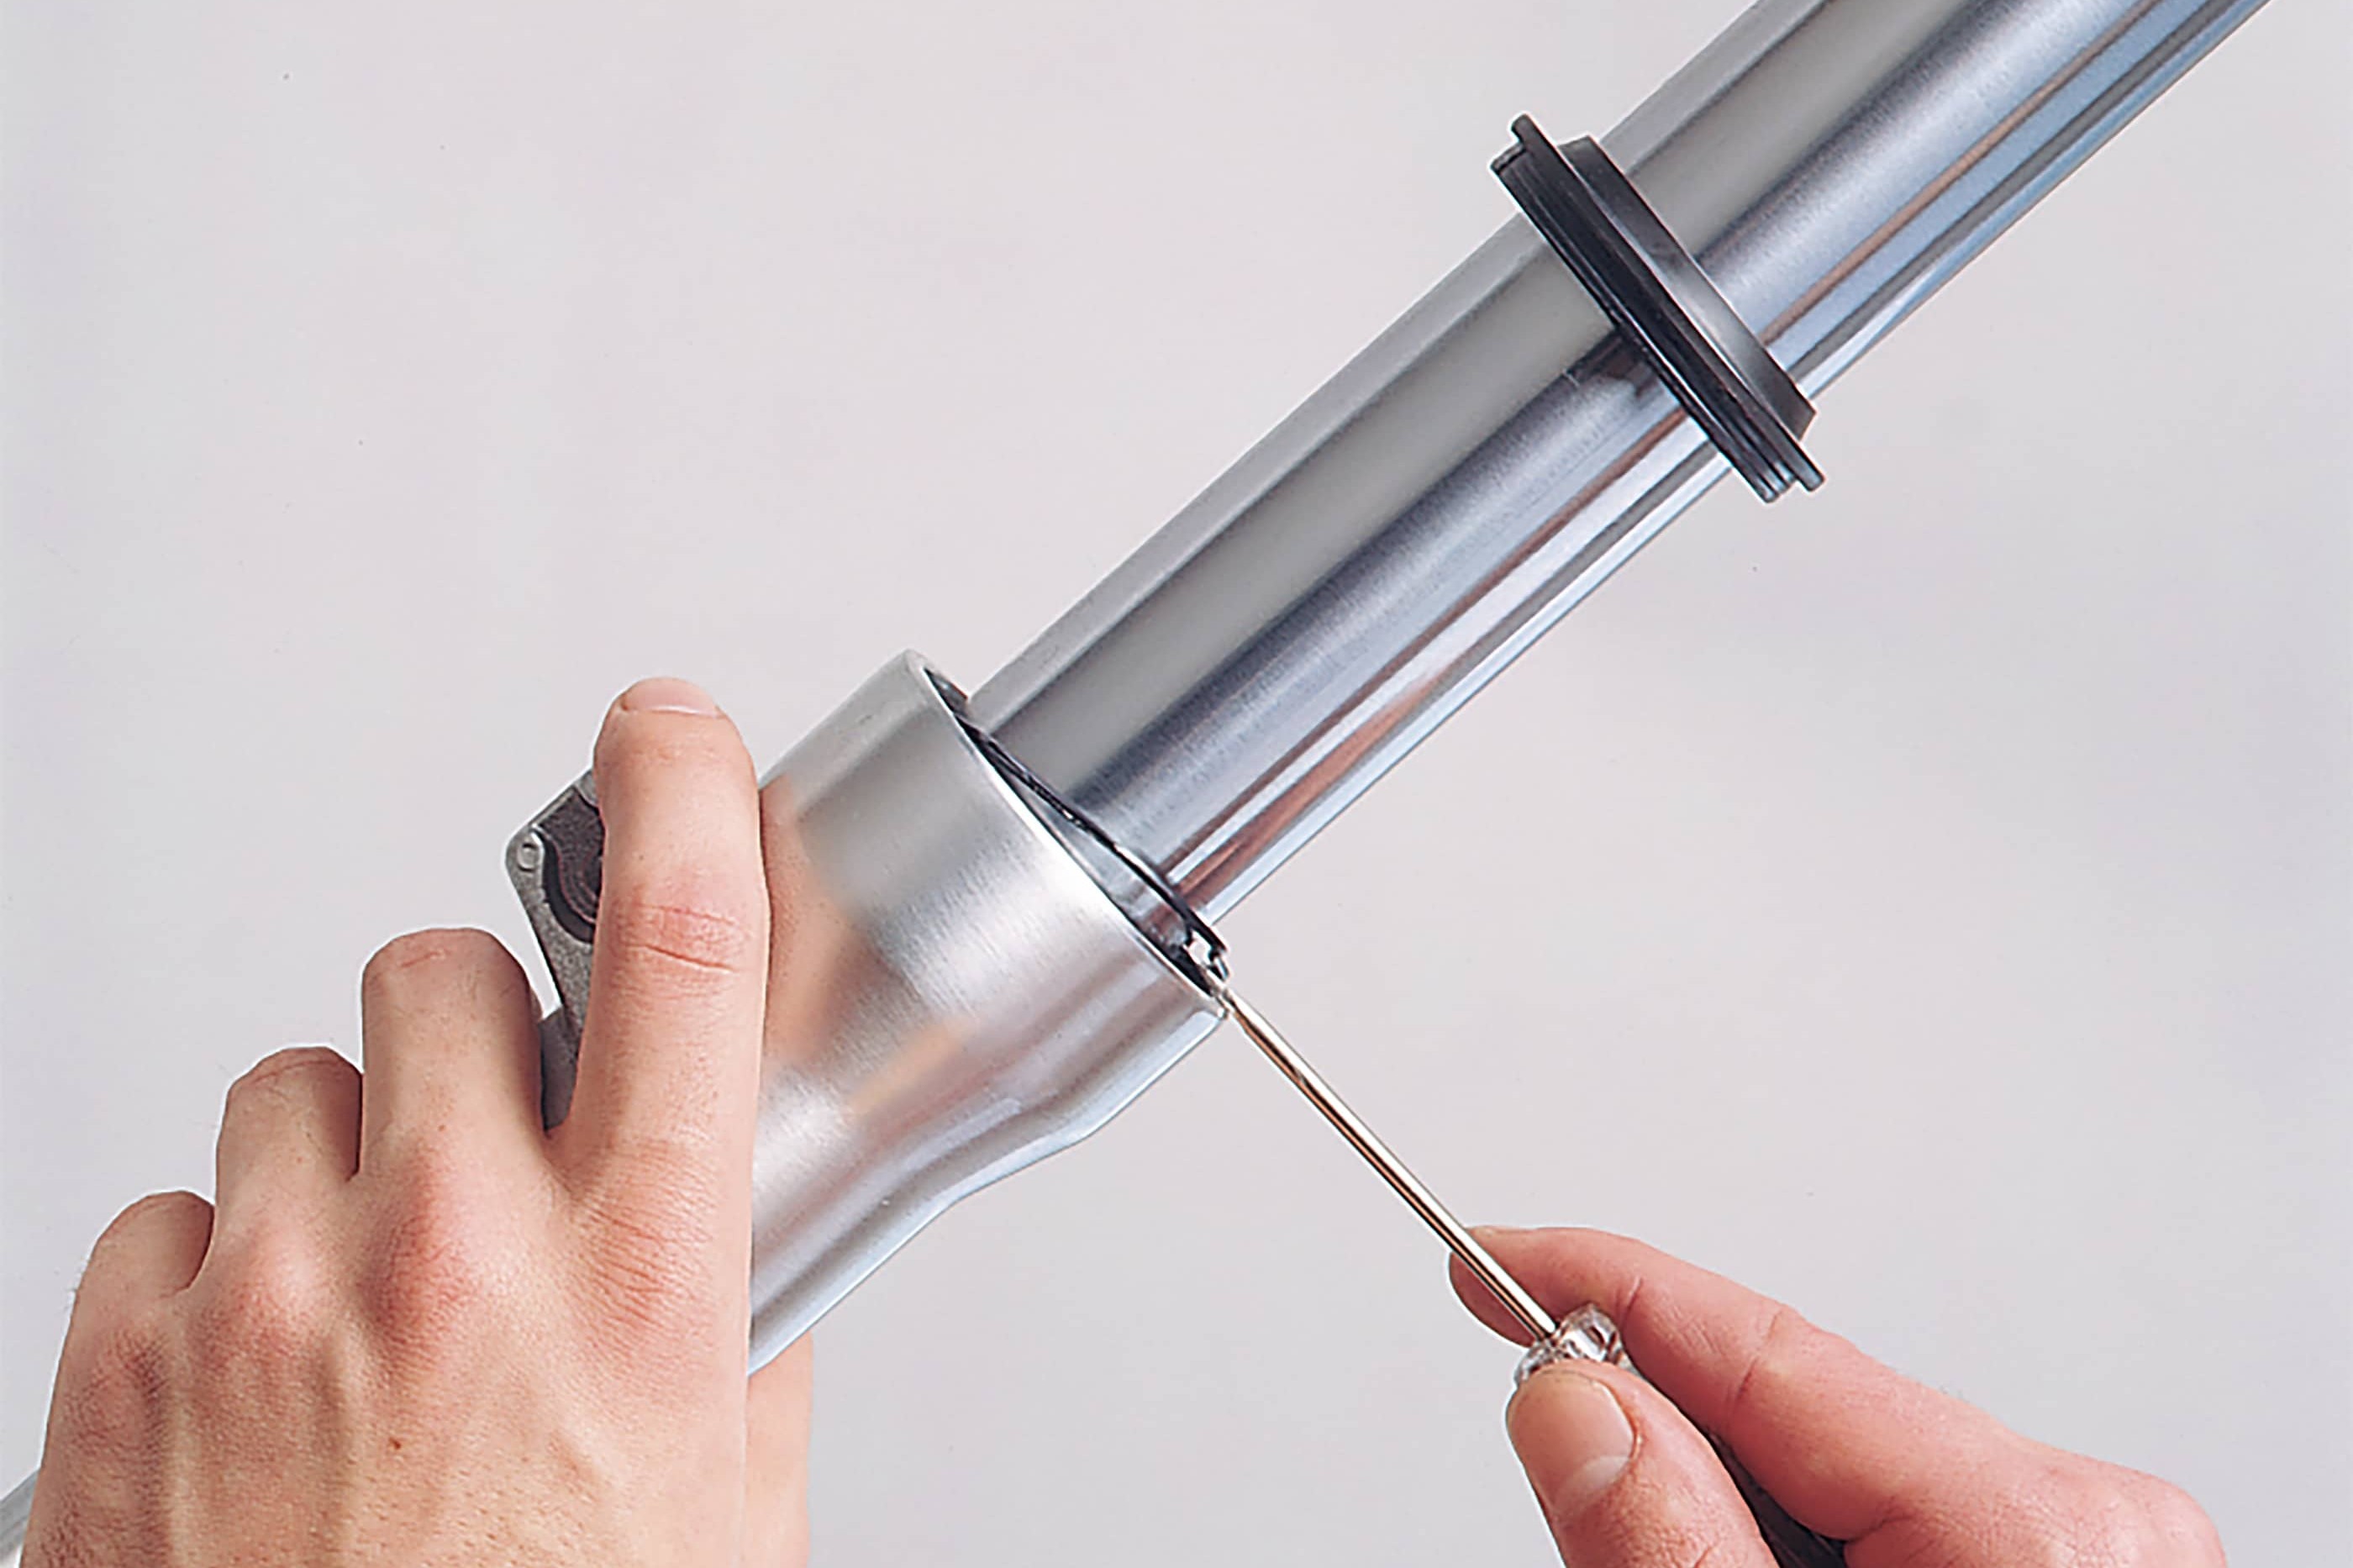
Now you need to remove the circlip that secures the seal underneath the dust cap. Use a small screwdriver to carefully prise the dust cap loose. Then slide it up the tube and remove the circlip by pressing it inwards to get it out of its groove.
Step 6: Remove defective seal
06 – Remove defective seal
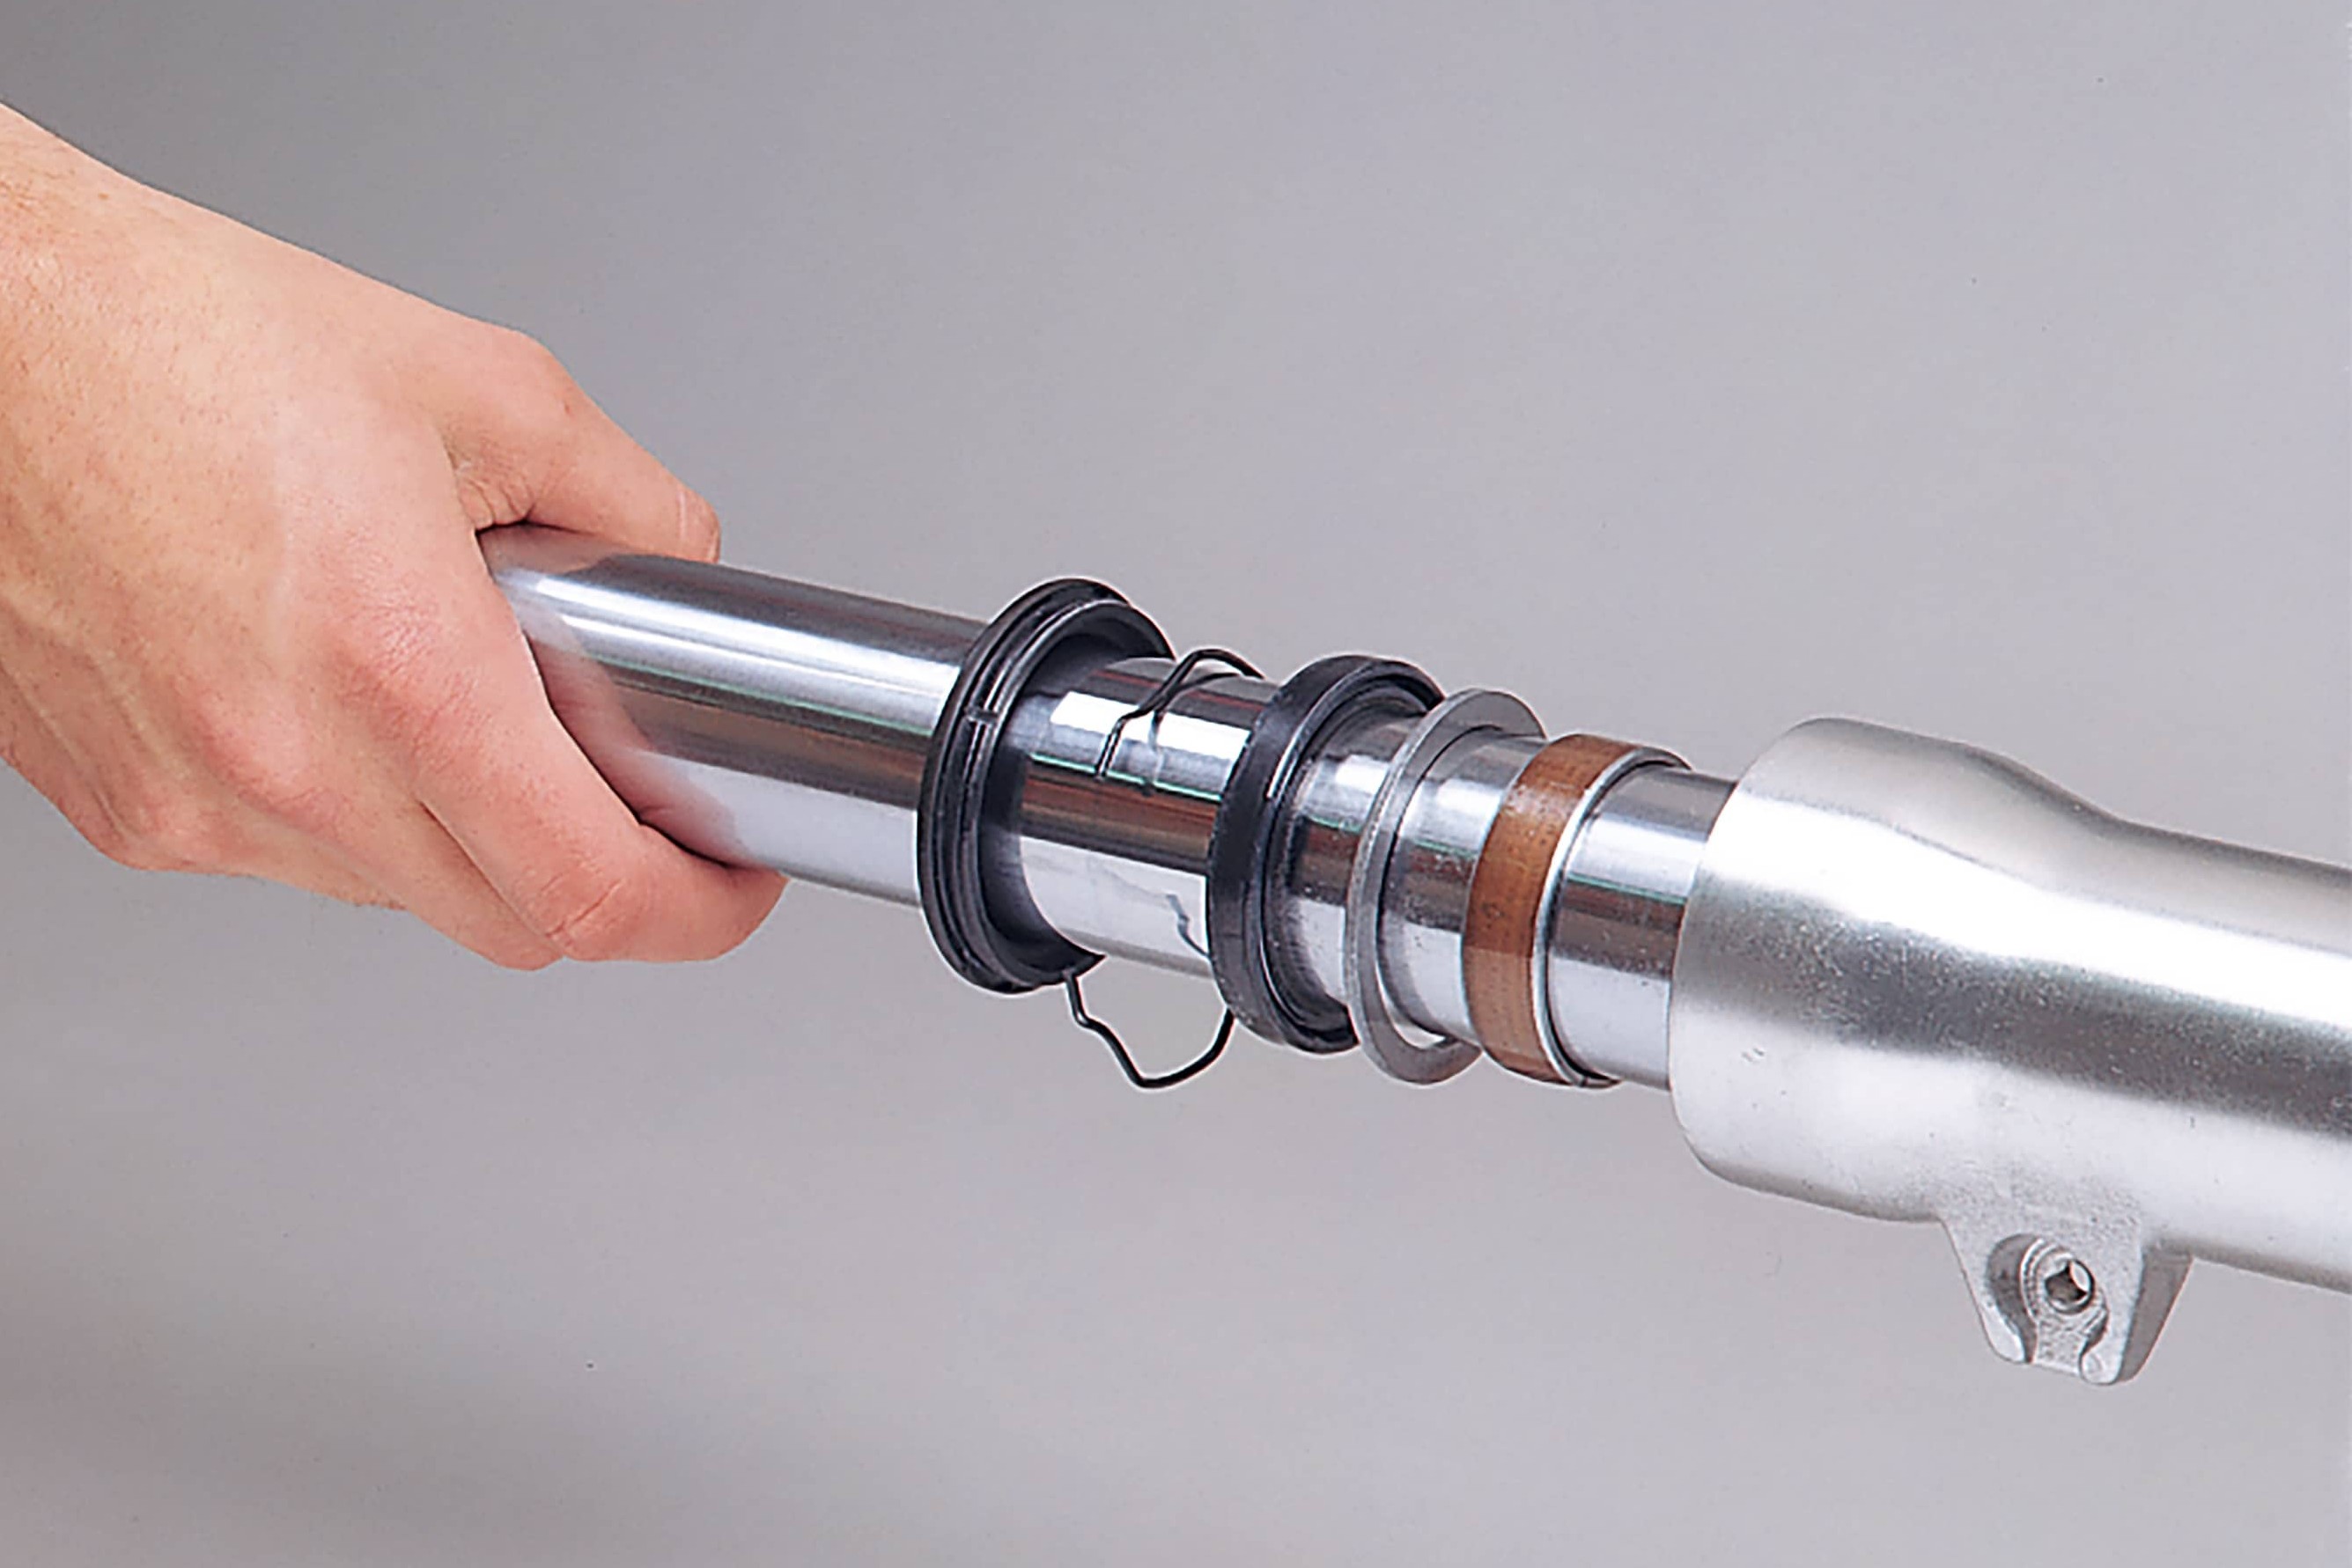
Once you have clamped the slider securely, pull on the fork tube several times with a jerking action so that the guide bushing drives the seal out of the slider. You can then pull the seal off upwards. If your fork is not fitted with a guide bushing, then the seal will not come out when you pull out the fork tube, but it should be fairly easy to lever out afterwards. If you are dismantling the fork even further, e.g. to clean it and check for wear (min. fork spring length, wear in the slider, etc.), you will need to consult your bike repair manual first. Bear in mind that dismantling the fork completely often means replacing various O-rings and slide bushings. If you are at all unsure, check with a professional first to find out exactly what is required for your bike model. After cleaning the fork, reassemble it. Install the bolts that hold the damping rods with new copper washers at the bottom of the sliders.
Step 7: Installation with fork seal driver
07 – Installation with fork seal driver
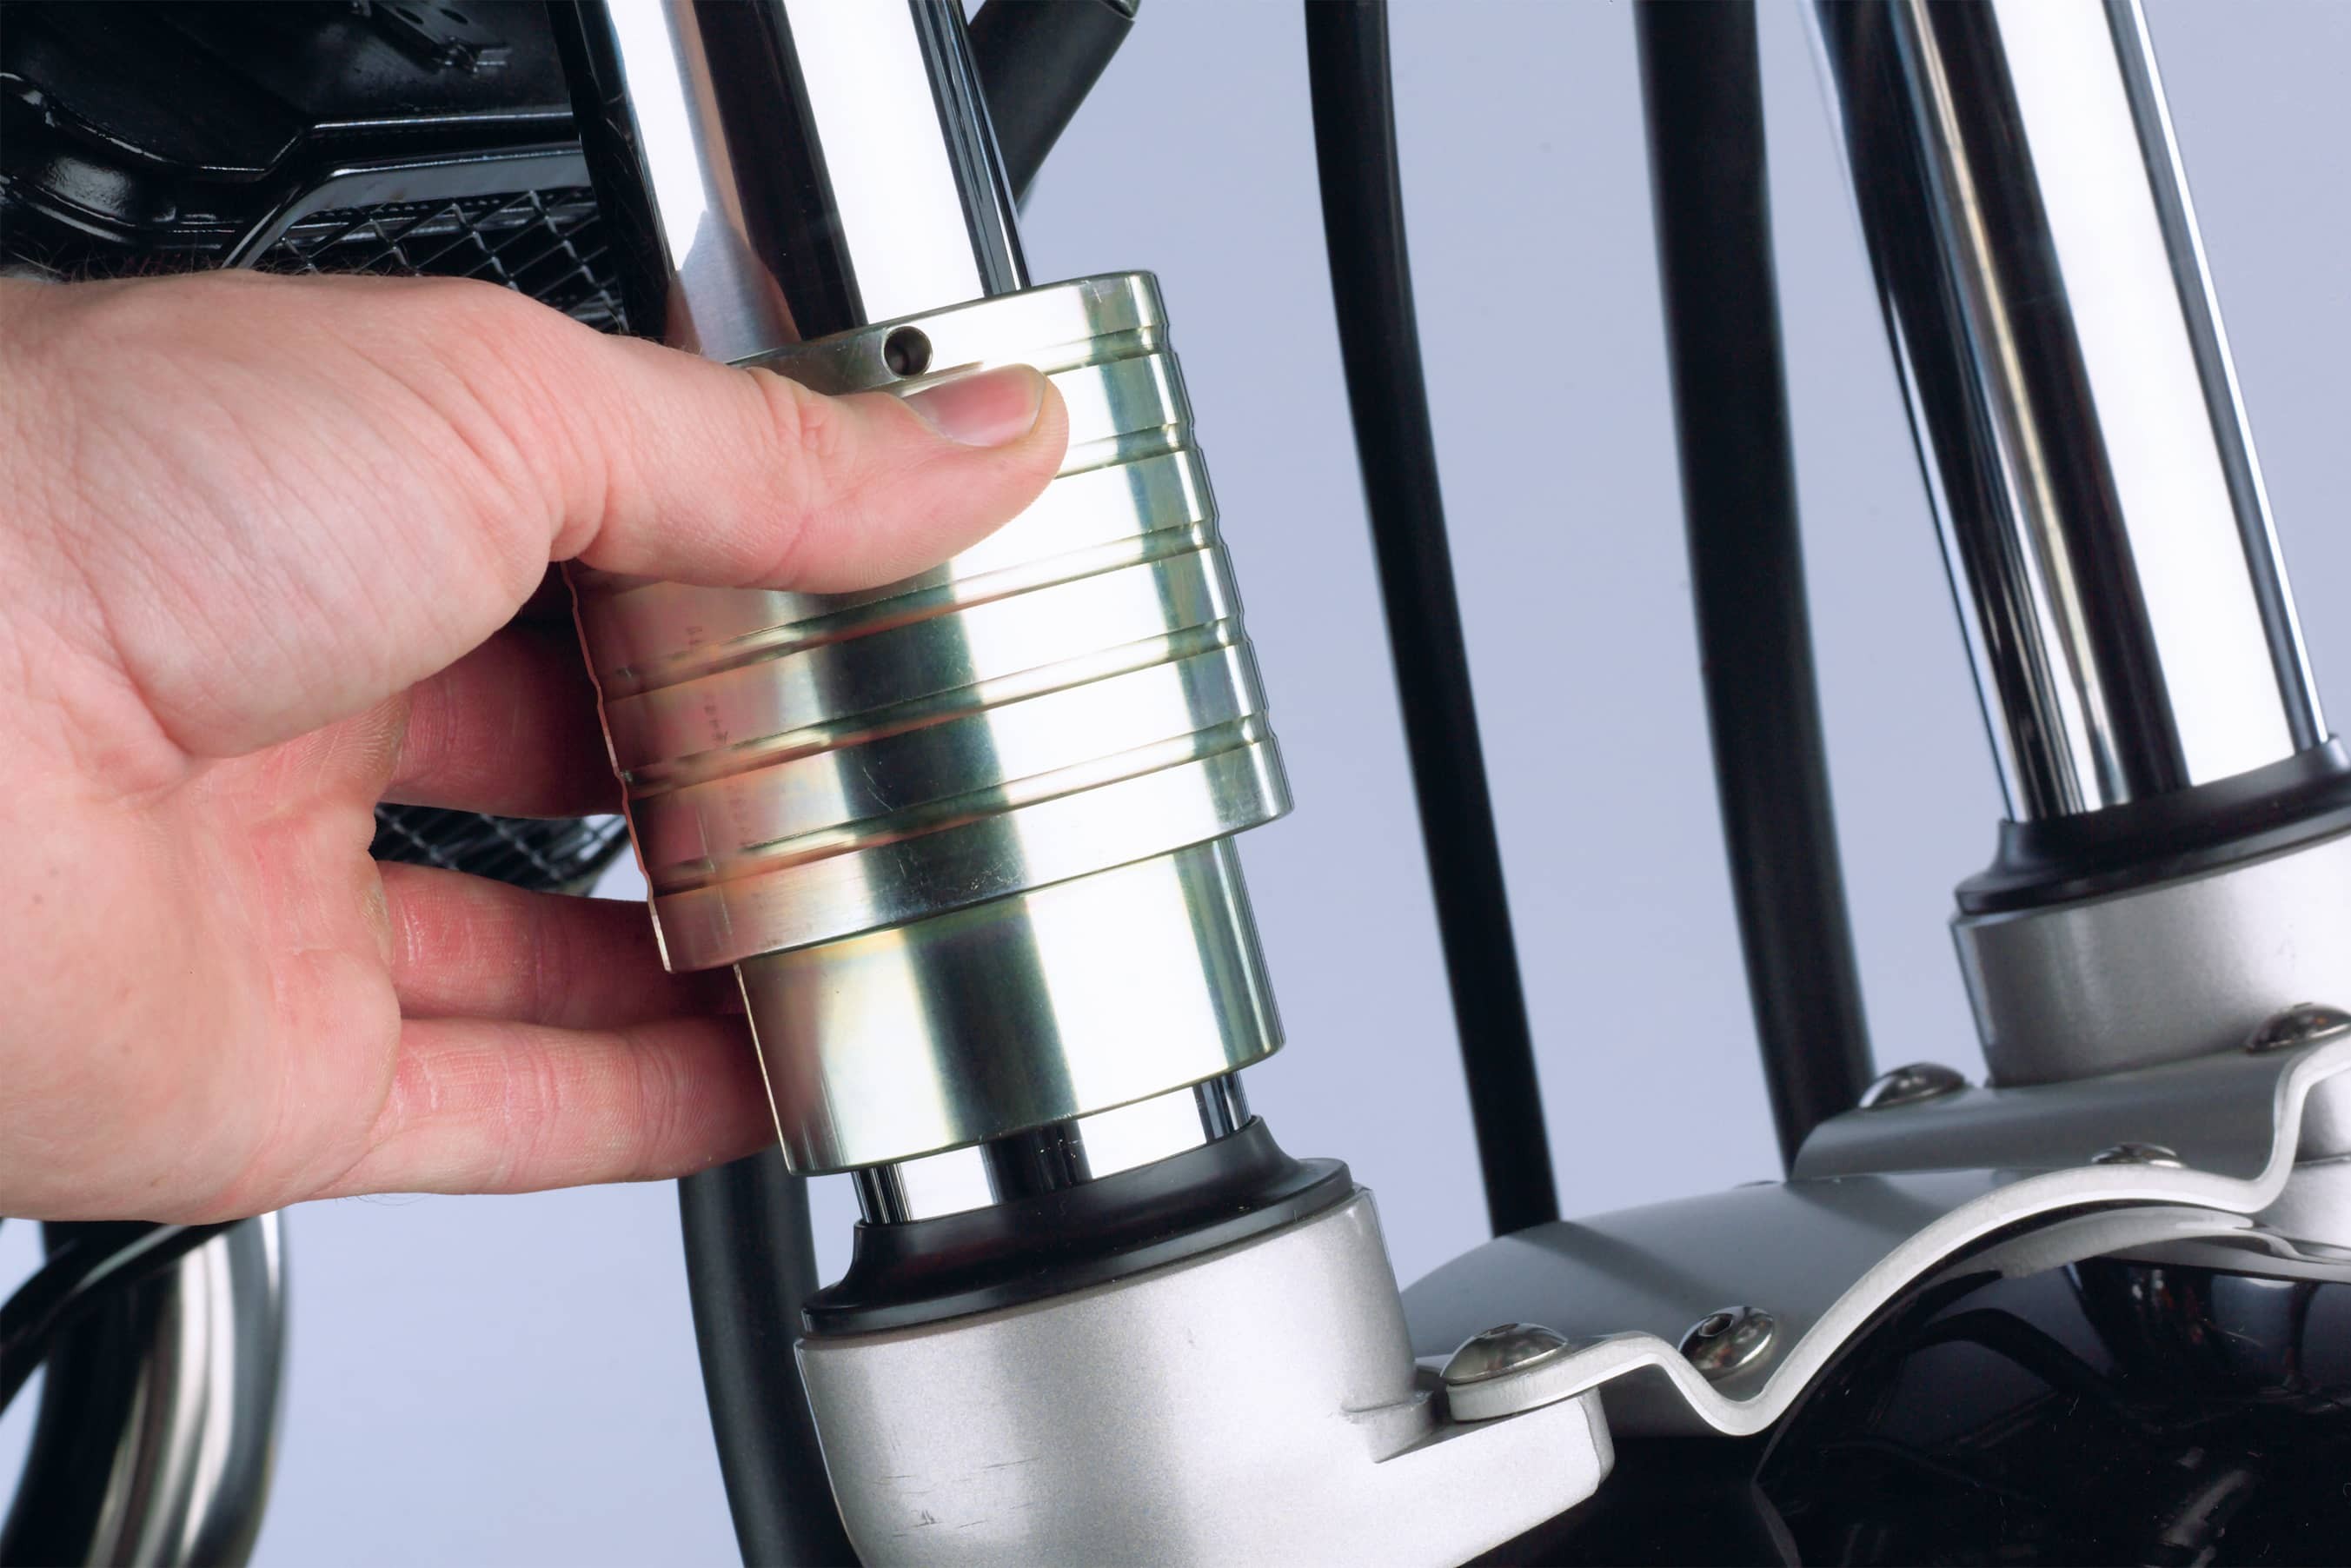
Before installing the new seal, apply a little grease to the outer surface of the seal to make it easier to push into the slider, and then to the sealing lip to prevent damage when you reassemble the fork. Ideally a professional fork seal driver should be used to insert the seal, but you can also use a suitable pipe. Use the old seal as an underlay when you start tapping. You should not need to tap very hard to drive the seal in, but whatever you do, never use any sharp object that could damage the seal. Drive the seal in far enough so that you can press the circlip into the groove with a screwdriver.
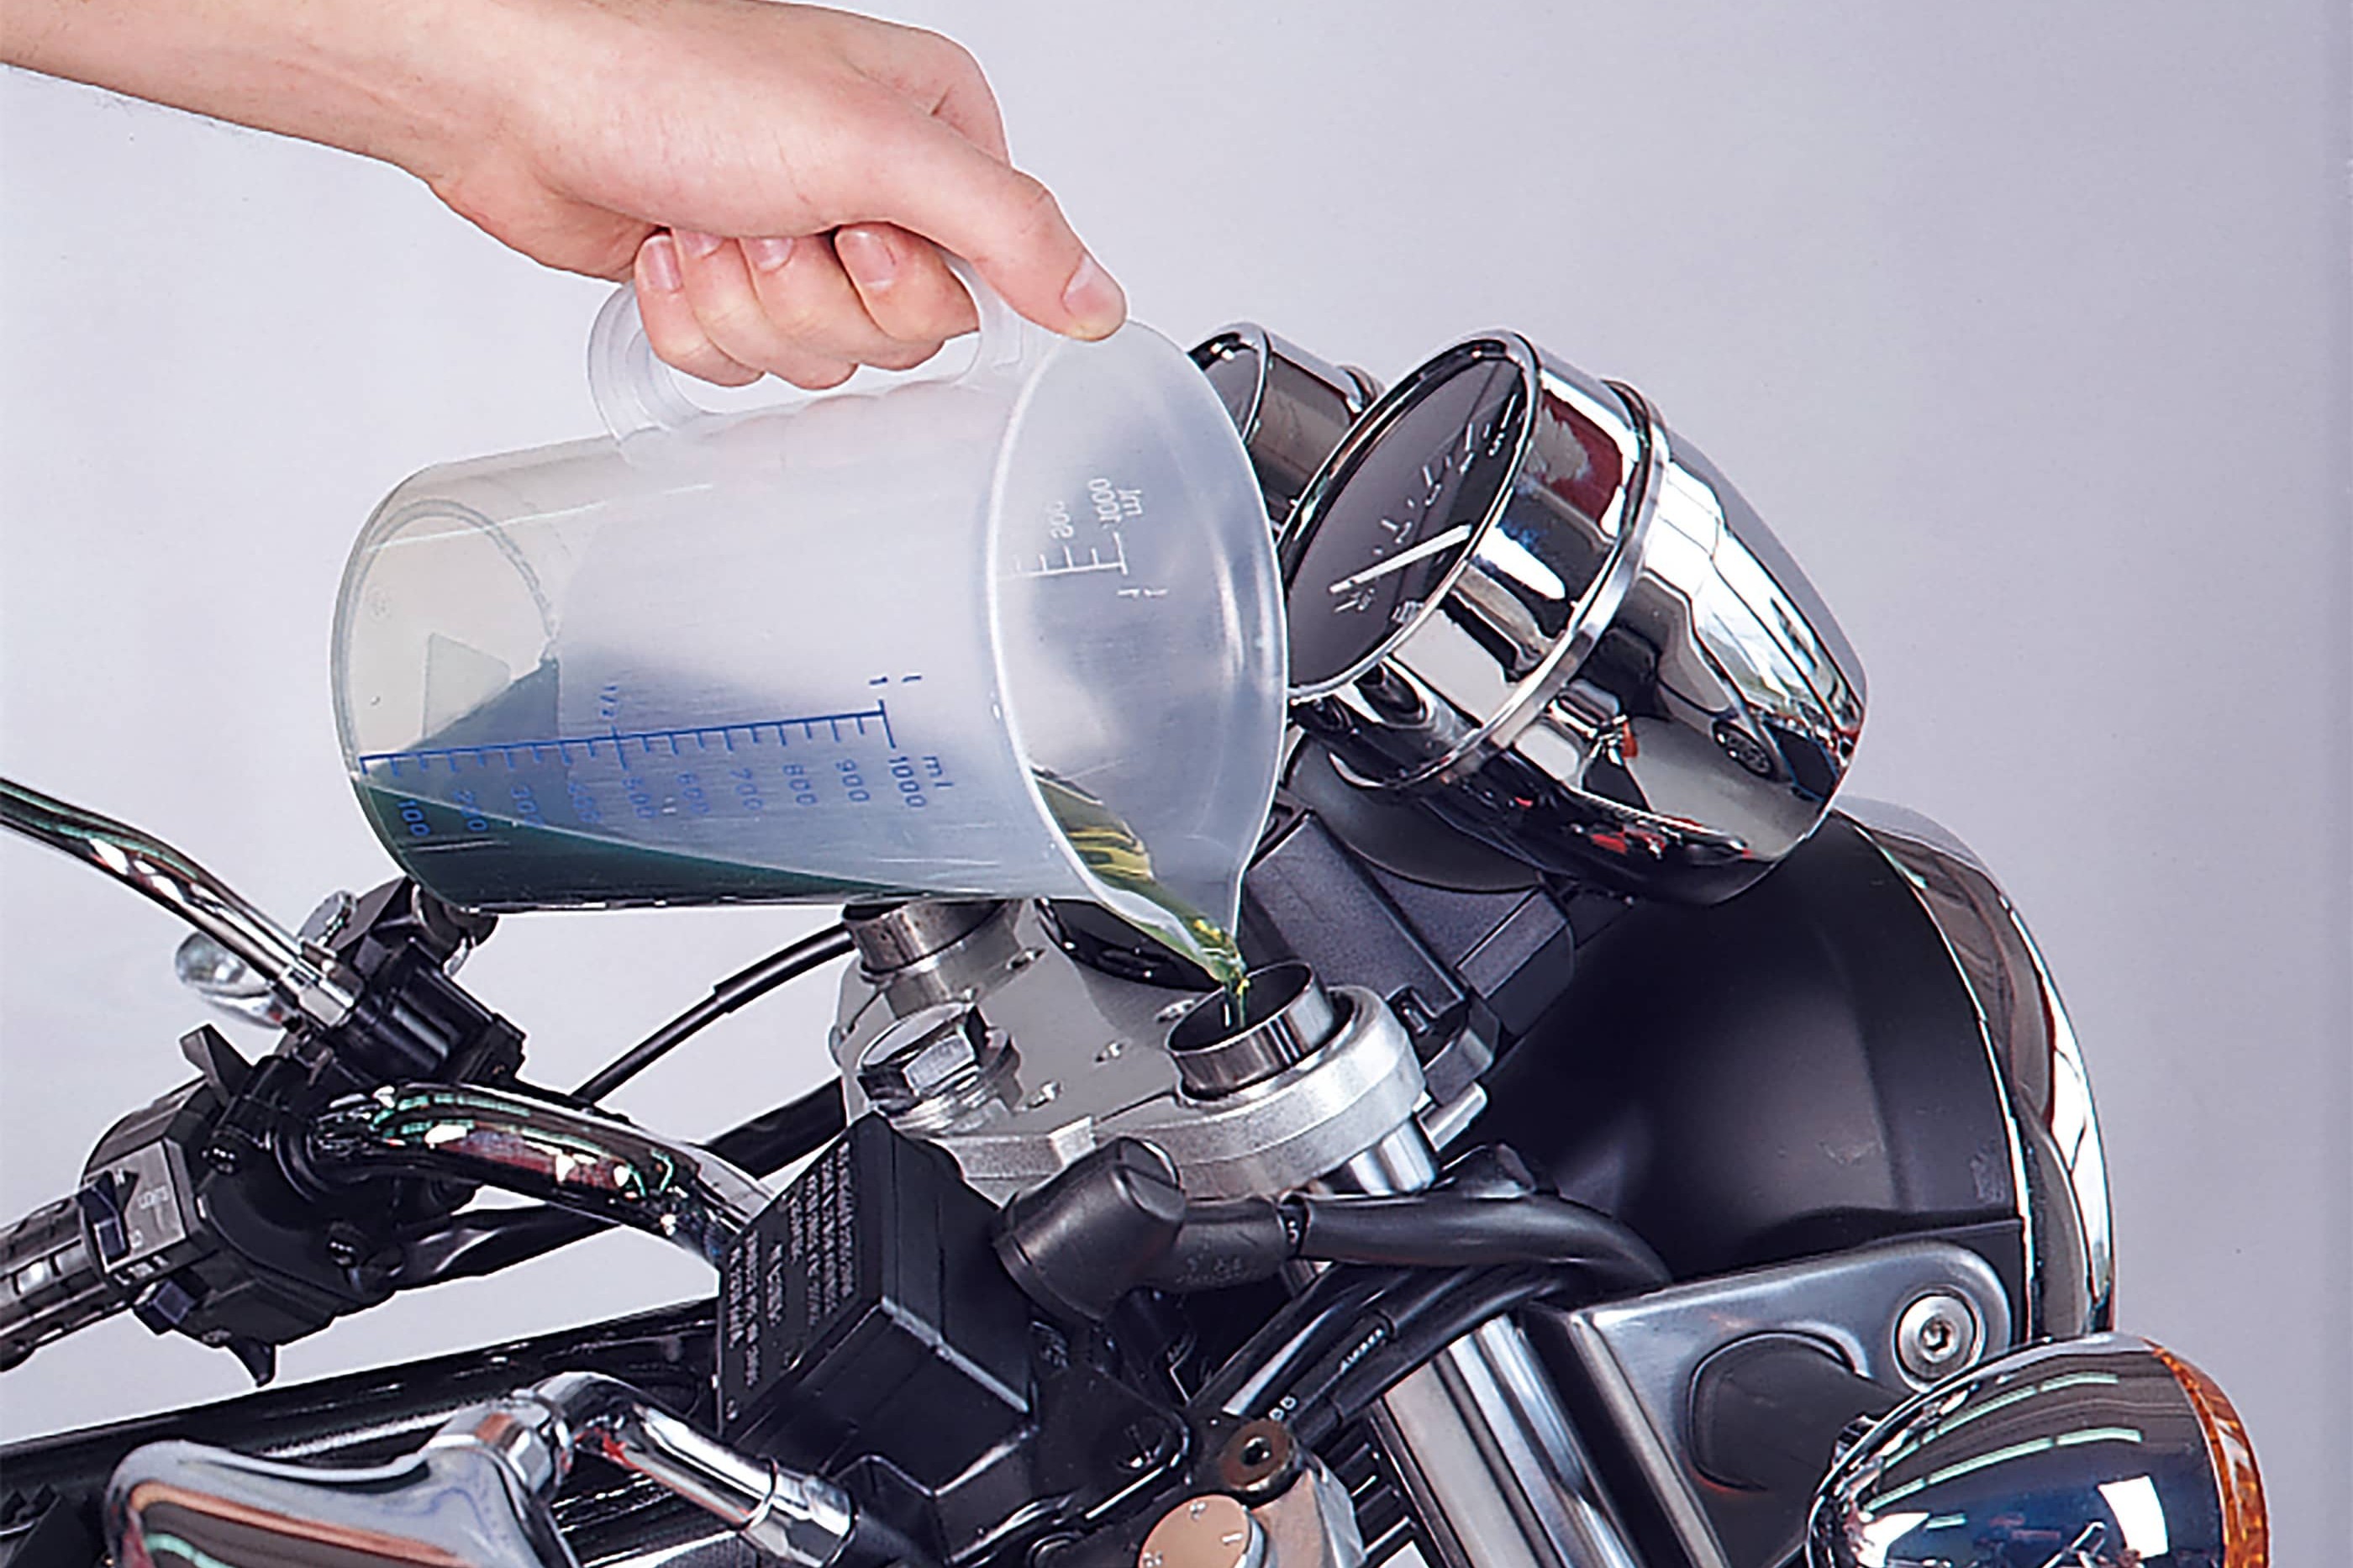
Step 8: Top up fork oil
08 – Top up fork oil
Fill the fork tubes with fork oil, either on your workbench or on the bike, whichever works for you. We've decided to fill them on the bike. The key thing is to make sure you use the right viscosity and exactly equal quantities (check your repair manual and use a measuring cup, and maybe a funnel to avoid any spillage). If the fork bottoms out when you brake hard, it's no use changing to an oil with a higher viscosity! The fork springs are the cause of the problem, not the oil, which is only responsible for damping. The inherent chassis problems of some motorcycles can be eliminated with after-market fork springs, e.g. Wirth fork springs. These springs have type approval, are progressively wound and are approx. 30% harder than the original springs. In fact, if you have air-assisted forks, Wirth springs need little or no air assistance, which also extends the life of your seals.
Once all bolts and nuts have been tightened with a torque wrench as per the repair book. The brake has to be primed sufficiently so that the pads rest on the brake discs. You can lower the vehicle from the jack again. You can then get back on the road with a brand new riding feel. Just remember to check whether the fork is leak-tight after a short test ride.
The Louis Technical Centre
If you have a technical question about your motorbike, please contact our Technical Centre, where they have endless experience, reference books and contacts.
Please note!
These tips for DIY mechanics contain general recommendations that may not apply to all vehicles or all individual components. As local conditions may vary considerably, we are unable to guarantee the correctness of information in these tips for DIY mechanics.
Thank you for your understanding.
